This is the tutorial for “How to set up Jupyter Notebooks on GPU on the Cloud” by Monique Marins on Youtube
This is the tutorial for the following video on Youtube: “How to set up Jupyter Notebooks on GPU on the Cloud” by Monique Marins
Overview
The steps to get started are:
- Create Amazon Web Services Account
- Set Up Your Cloud Computing Server
- Connect to Your Server
- Setting Up Your Jupyter Notebook
- Connecting to Jupyter in The Browser
Step-by-Step guide
1. Create an AWS account
You need an EC2 instance, but first create your account here https://portal.aws.amazon.com/billing/signup#/start

2. Set Up Your Cloud Computing Server
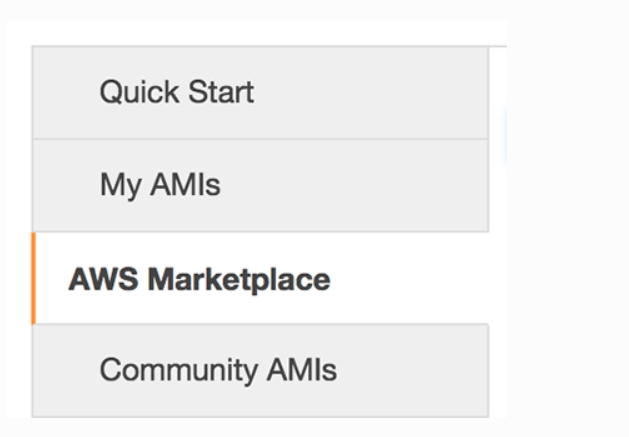
Navigate to EC2 instance. Select “Launch Instance”
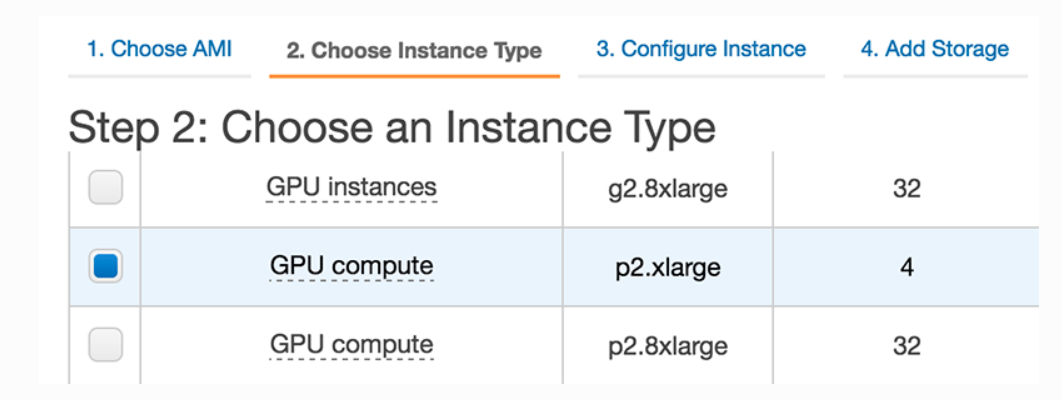
The instances with GPU’s are those that start with either g2 or p2. I recommend the p2.xlarge, which costs a little less than a dollar an hour. If you want something less expensive, the g2.2xlarge is about $0.65/hr, though it isn’t quite as fast or as powerful.
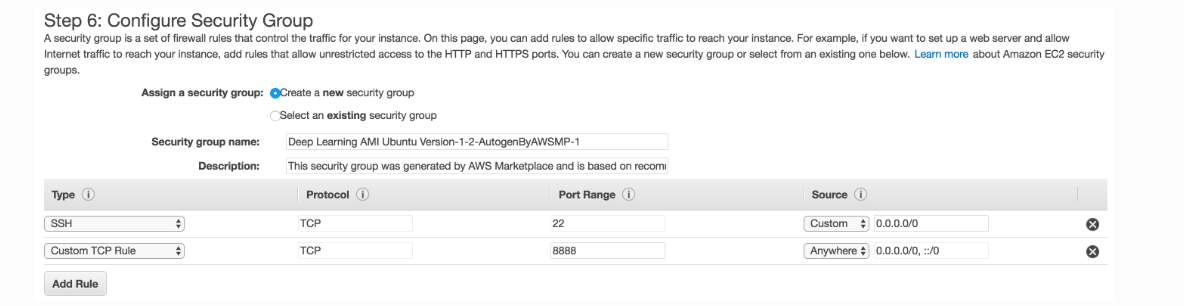
Set up Security Group
Create a custom TCP rule to allow port 8888
3. Connect to Your Server
You may need to change the access priveleges for the file for your key. In MacOS and Linux this can be done with the command
chmod 400 YourKeyName.pem
Then type
ssh -i YourKeyName.pem ubuntu@X.X.X.X
- X.X.X.X is the IPv4 Public IP found in AWS, and
- YourKeyName.pem is the name of your .pem file. Note that if you’ve used a different AMI or specified a username, ubuntu will be replaced with the username, such as ec2-user for some Amazon AMI’s. You would then instead enter ssh -i YourKeyName.pem ec2-user@X.X.X.X
4. Setting Up Your Jupyter Notebook
In your instance, in order to create a config file for your Jupyter notebook settings, type:
jupyter notebook --generate-config
Then, to change the IP address config setting for notebooks (this is just a fancy one-line command to perform an exact string match replacement; you could do the same thing manually using vi/vim/nano/etc.), type:
sed -ie "s/#c.NotebookApp.ip = 'localhost'/#c.NotebookApp.ip = '*'/g" ~/.jupyter/jupyter_notebook_config.py
5. Connecting to Jupyter in The Browser
On the Ec2 Instance, type:
jupyter notebook --ip=0.0.0.0 --no-browser
From your local machine
- You will need the token generated by your jupyter notebook to access it. On your instance terminal, there will be the following line: Copy/paste this URL into your browser when you connect for the first time, to login with a token:. Copy everything starting with the :8888/?token=.
- Access the Jupyter notebook index from your web browser by visiting: X.X.X.X:8888/?token=… (where X.X.X.X is the IP address of your EC2 instance and everything starting with :8888/?token= is what you just copied).
Tips
- Cost: be careful with AWS GPU instances, if you forget to STOP or SHUTDOWN, it can get quite expensive.
Acknowledgments
- Udacity Deep Learning Nano degree, Part 3 CNN, Lesson 2 CNN, Section 1 Cloud Computing
- Running Jupyter notebooks on GPU on AWS: a starter guide
- https://blog.keras.io/running-jupyter-notebooks-on-gpu-on-aws-a-starter-guide.html
- https://docs.aws.amazon.com/dlami/latest/devguide/setup-jupyter.html
- https://www.datacamp.com/community/tutorials/deep-learning-jupyter-aws
Leave a Reply